
Grid Drawing Worksheets
Turn any picture into printable grid drawing worksheets for your class. Choose up to three difficulty levels, add a mystery grid puzzle and an answer key, and download one PDF.
How to make grid drawing worksheets
-
Choose a picture
Upload any image or start with a sample painting. Bold shapes and clear contrast are easiest for students.
-
Set the difficulty levels
Pick how many squares go across for easy, medium and hard. Rows follow the picture so every square stays square.
-
Pick worksheet types
Combine copy-the-grid pages, mystery grid puzzles and an answer key. Shuffle the mystery squares for each class.
-
Print the PDF
Download one PDF on US Letter or A4, with name and date lines and short instructions on every page.
Grid drawing worksheet examples
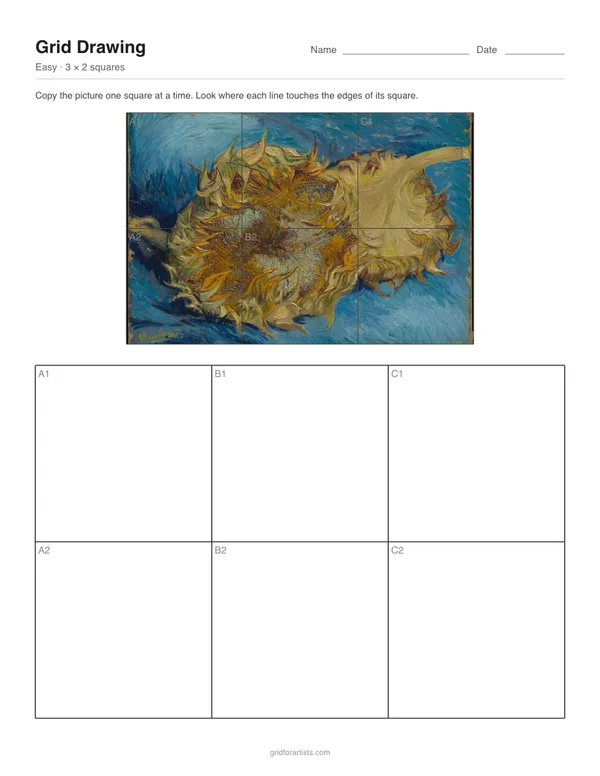
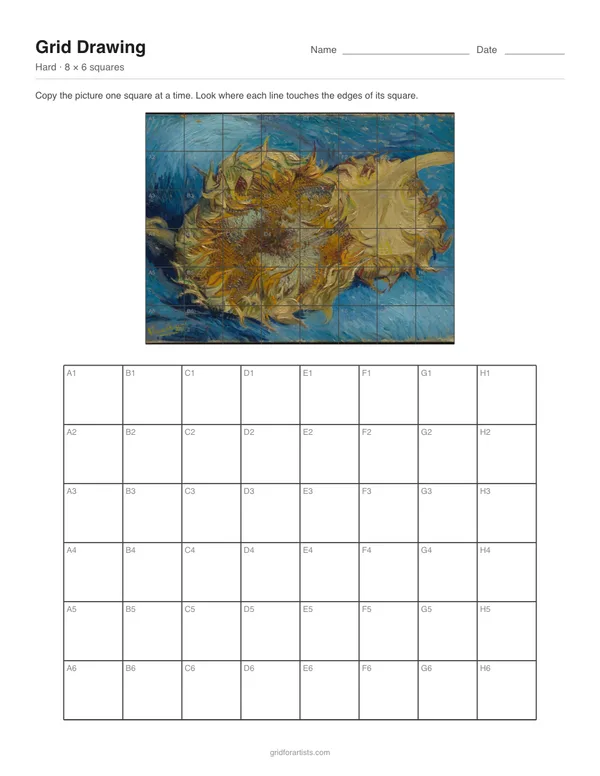
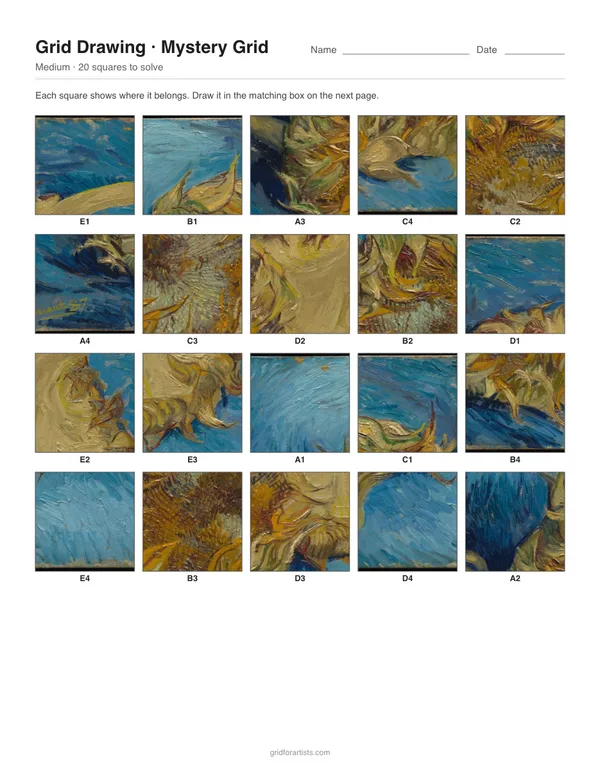
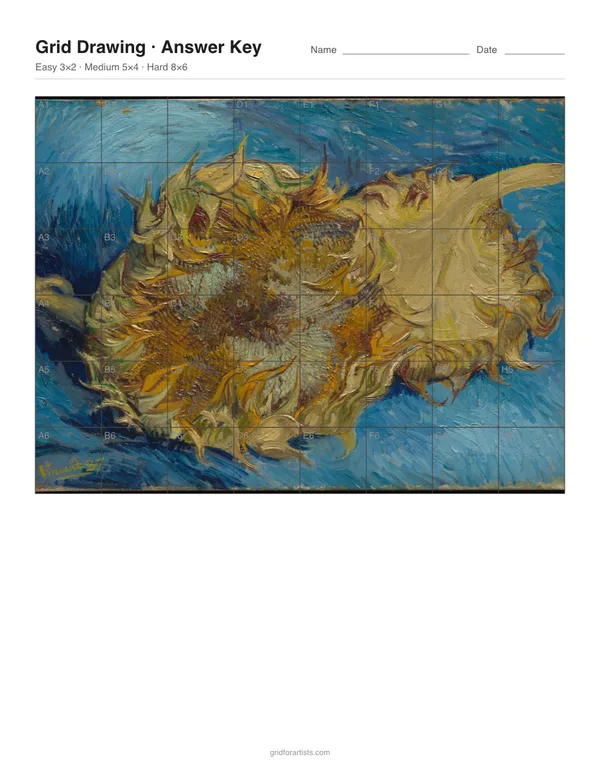
Four pages from one PDF made with this generator from Van Gogh's Sunflowers.
Grid drawing lesson plan
A grid drawing lesson fits in one or two 45 minute periods and needs nothing more than pencils, erasers and the worksheets you print here. It is a reliable way to show students that they can draw something realistic, which is often the moment they start enjoying art class.
Objectives
- Observe and copy shapes, lines and proportions accurately.
- Understand scale: the same picture can be drawn larger by using larger squares.
- Use coordinates (A1, B2) to locate a position, a link to maths and map skills.
- Build focus and persistence by completing a drawing one square at a time.
Materials
- Printed worksheets (one level per student, or all three for early finishers)
- HB or 2B pencils, erasers, optional coloured pencils for a colour version
- A projector or the grid drawing tool on the board for the demonstration
Lesson steps
- Hook (5 min). Show a mystery grid answer key covered up, or a time-lapse of a grid drawing. Ask how artists enlarge small sketches onto walls.
- Demonstrate (10 min). Copy two squares live. Think aloud: "This line starts halfway down the left side and leaves at the bottom right corner."
- Practice (20 to 40 min). Students work square by square. Remind them to cover the rest of the picture with a scrap of paper if they lose their place.
- Reflect (5 min). Compare drawings with the reference. Which squares were hardest? Why?
Differentiation
Print the same picture at three levels so every student draws the same subject at the right challenge. Easy sheets with 3×3 squares suit younger students and those who need more support; hard sheets with eight or more squares across stretch confident drawers. Early finishers can add value (light and shadow) or colour, or move on to the mystery grid.
Assessment ideas
Look for lines that meet across square borders, proportions that match the reference and evidence of careful observation rather than guessing. A quick self-assessment works well: students circle the square they are most proud of and the one they would redo.
How mystery grid drawings work
A mystery grid shuffles the squares of a picture so the subject stays secret. Each square is printed with the coordinate where it belongs. Students find the matching box in the empty grid and copy the square there. Because they cannot recognise the subject, they draw exactly what is in front of them instead of what they think a flower or a face looks like, which is the core skill of observational drawing. The reveal at the end is the fun part; keep the answer key until everyone has finished.
Use Shuffle mystery squares to make a different version for each table so students cannot copy from a neighbour. Larger grids make longer, harder puzzles: a 5×5 mystery takes most classes one lesson, a 10×10 mystery can be a week-long challenge or a collaborative project where each student draws a few squares on a large sheet.
Choosing pictures for grid drawing worksheets
- Pick bold, simple subjects for younger grades: a single animal, a fruit, a cartoon character you drew yourself.
- Strong contrast between light and dark helps students see shapes. Try the black and white option.
- Crop the picture so the subject fills the frame; empty squares are boring to draw.
- Famous paintings make great cross-curricular lessons. The samples here are public domain works by Van Gogh and Hokusai from The Met.
- For a whole-class mural, make a hard worksheet, hand each student one or two squares and assemble the big drawing on the wall.
Frequently asked questions
What is a grid drawing worksheet?
What is a mystery grid drawing?
What grid size should I use for each grade?
Can I use these worksheets in my classroom or sell them?
Does it use a lot of ink?
Do students need an account?
More free tools for artists
Grid Drawing Tool
Put a labeled grid over a reference photo, then copy it one cell at a time in step-by-step mode.
OverlayAdd Grid to Photo
Overlay a square, rule-of-thirds or custom grid on any image and save it as PNG, JPG or PDF.
DownloadTransparent Grid PNG
Free transparent grid overlays in common sizes, or generate your own PNG and SVG grid.
PixelizeImage to Pixel Art
Convert a photo to pixel art with palettes and dithering, then export a bead or cross-stitch chart.
ScalePixel Art Upscaler
Enlarge sprites with crisp nearest-neighbour or Scale2x edges, without blur.