
Grid Drawing Tool
Drop in a reference photo, lay a grid over it and copy it one square at a time. Match the grid to your paper size, label every cell and draw cell by cell in full-screen step mode.
- Free, no sign-up
- Photos stay on your device
- Works on iPad and phones
How to use the grid drawing tool
The grid method breaks one hard drawing into many easy ones. Here is the whole workflow, from photo to finished sketch.
-
Pick a reference photo
Upload, drag or paste an image. A clear photo with strong light and shadow is easiest to grid.
-
Choose your grid
Set rows and columns, use square cells, or enter your paper size so each cell equals a real inch or centimetre.
-
Draw the same grid on paper
Lightly rule the matching grid with a hard pencil, or print the blank grid PDF and transfer it.
-
Copy one cell at a time
Open step-by-step mode, copy what you see in cell A1, tap Next and keep going. Erase the grid when you finish.
Draw cell by cell in step-by-step mode
The hardest part of the grid method is not drawing a square, it is keeping your place. Your eye jumps between the screen and the paper, and after a few minutes you are copying C4 into C5. Step-by-step mode fixes that: it fills the screen with a single cell of your reference, enlarged, with a thin frame of the neighbouring cells dimmed around it so you can see where each line enters and leaves.
Tap Next, press the arrow keys or swipe to move on. Finished cells turn green on the small map at the bottom, and your progress is saved in the browser, so a drawing you start on Monday picks up at the same square on Tuesday. Stand a tablet in portrait next to your sketchbook and the cell on screen is about the size of the cell on your paper.
Turn off Show neighbours when you want the purest version of the exercise: just the shapes inside one square, with no clue about what they are. Drawing teachers use that trick to stop students drawing what they think an eye looks like instead of what is actually there.
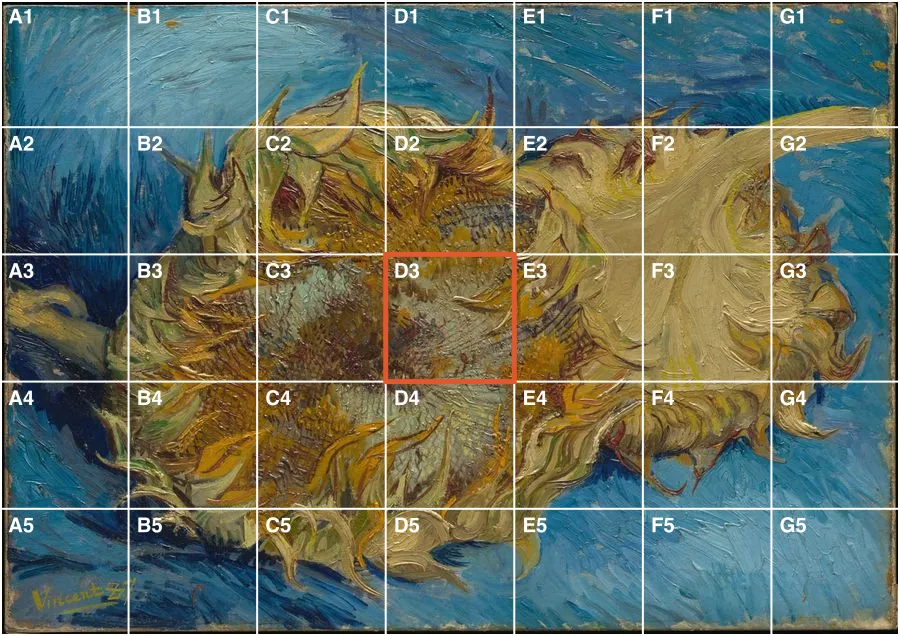
Grid drawing examples
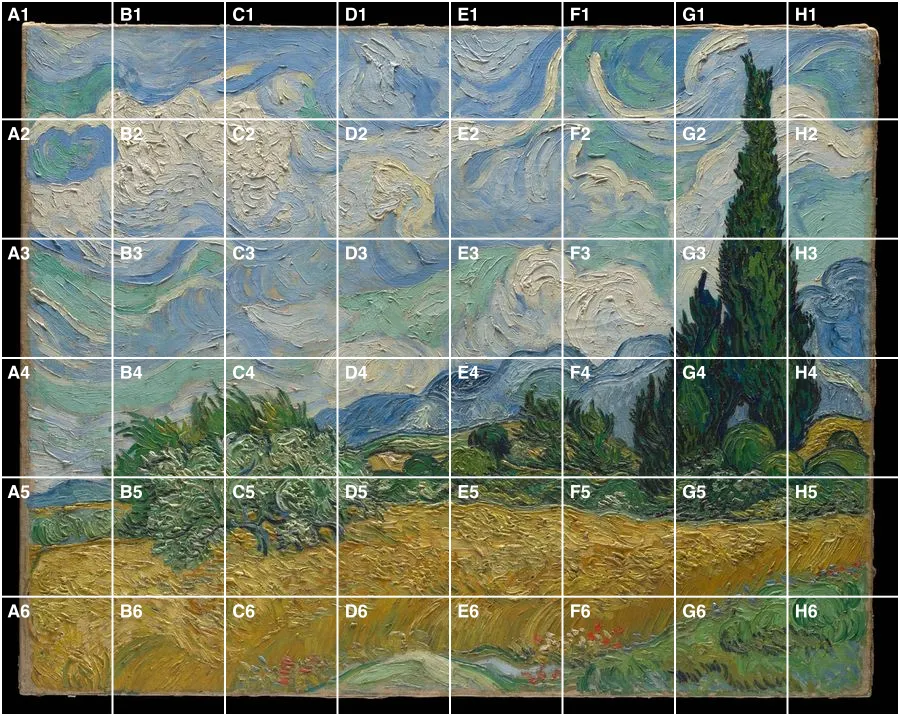
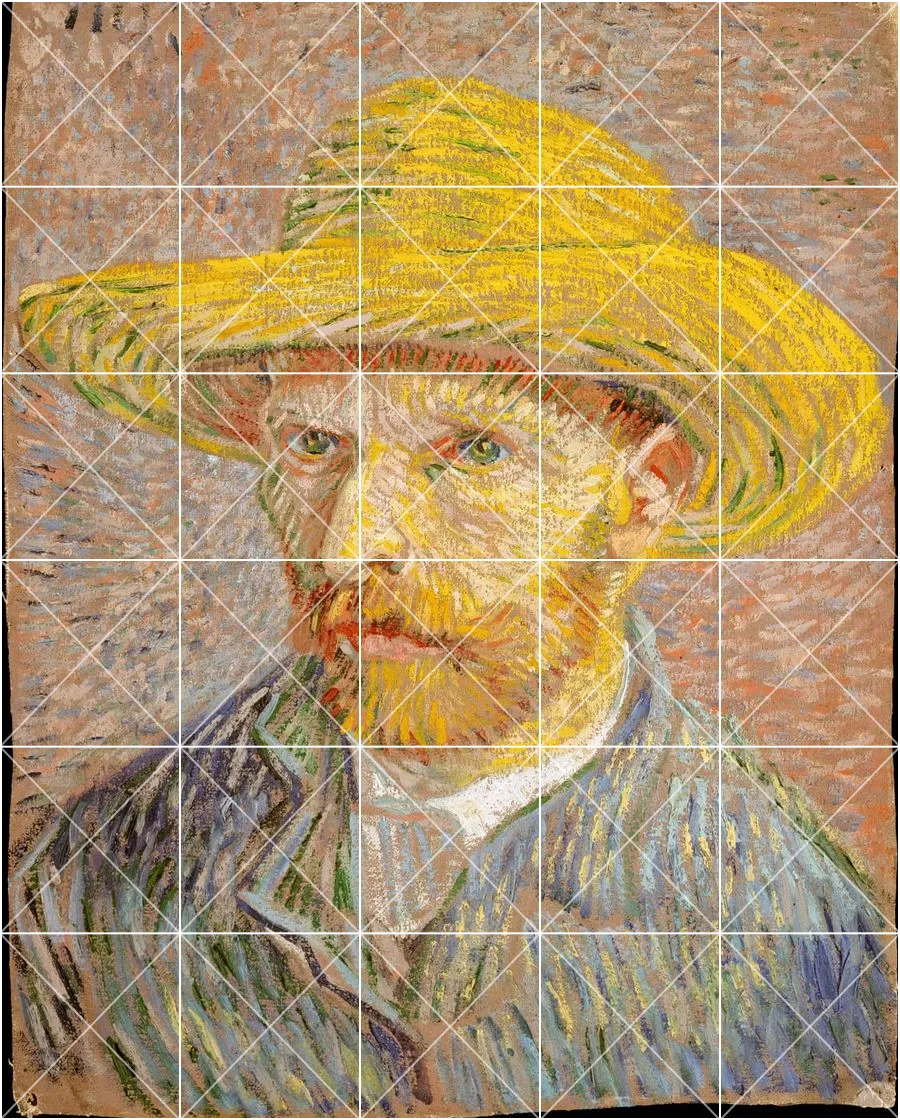
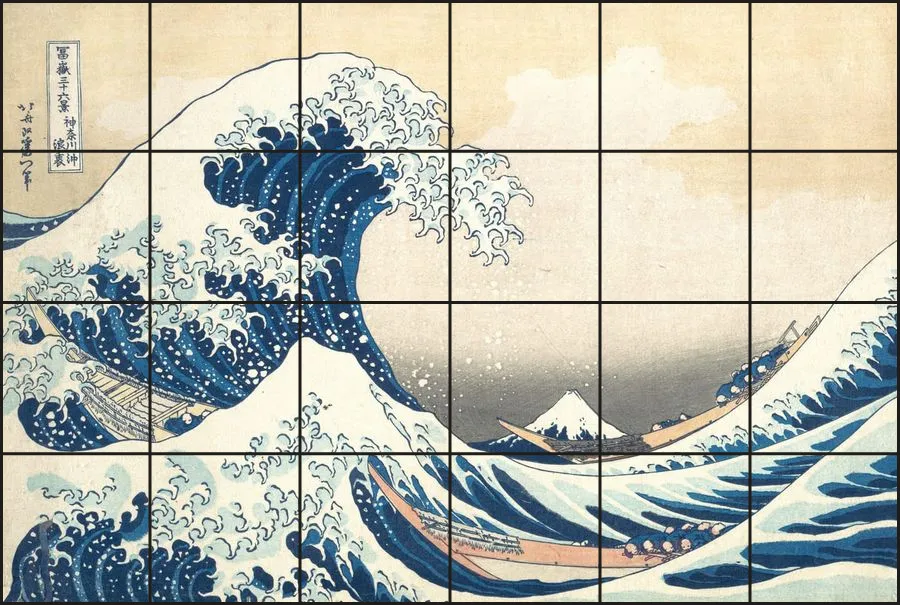
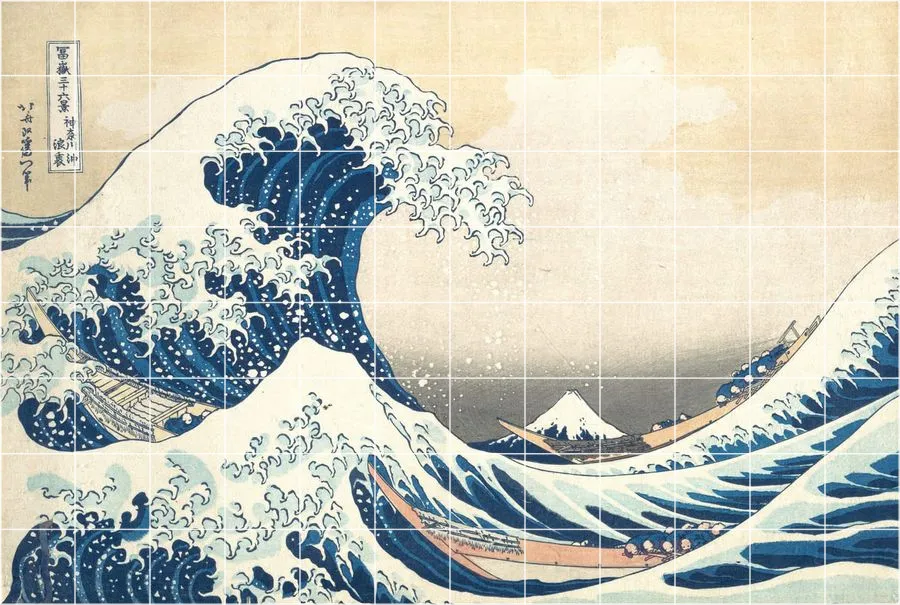
A few ways to set up a drawing grid, made with this tool on public domain paintings from The Met's open access collection. Try any of them with the sample buttons above.
What is the grid method of drawing?
The grid method (also called squaring up or the grid technique) is a way to copy or enlarge an image accurately. You divide the reference into equal squares, draw the same number of squares on your drawing surface, and copy the contents of each square separately. Because each square only holds a few simple shapes, proportions stay correct even if you have never drawn a face or a horse before.
Artists have used versions of it for a very long time. Renaissance painters looked through gridded frames, fresco and mural painters still square up small sketches to transfer them to walls, and illustrators use grids to enlarge thumbnails. A digital grid maker for drawing simply removes the slow part: measuring and ruling lines on a printed photo.
Grid drawing for beginners
If you are new to drawing, the grid method is one of the fastest ways to get a result you are proud of. Start with a simple subject such as a mug, a pet portrait with a plain background or a single flower. Use a 4×4 or 5×5 grid, turn on cell labels so you never lose your place, and draw with a light pencil so the grid can be erased. Focus on where lines cross the edges of each square: if a contour enters a cell one third of the way down the left edge, it should enter your cell at the same spot.
Turning the photo black and white helps too. Colour distracts from value, and value (how light or dark something is) is what makes a drawing look three dimensional. The Value study option reduces the photo to 3, 5 or 7 grey levels so you can see big shapes of light and shadow before you add detail.
How to choose the grid size
There is no single right number of squares. As a rule of thumb, pick a grid where the most important feature, often an eye or a hand, spans about one to two cells. That gives enough reference points without turning the drawing into a hundred tiny puzzles.
| Subject | Suggested grid | Tip |
|---|---|---|
| Simple object, first drawing | 3×3 to 4×4 | Turn on cell labels |
| Pet or animal | 5×5 to 6×6 | Crop tight around the animal first |
| Portrait (head and shoulders) | 6×8 to 8×10 | Add diagonals for the eyes and nose |
| Landscape | 6×8 | Use the horizon as a check line |
| Detailed scene or architecture | 10×10 and up | Use step-by-step mode |
| Mural or large canvas | 1 ft or 30 cm squares | Use canvas size and the tiled PDF |
Matching the grid to your canvas size
A grid only works if the squares on your reference and the squares on your paper have the same proportions. The easiest way is the Canvas size mode: enter the width and height of your paper or canvas in inches or centimetres and the size of one square. The tool crops the photo to the same ratio and draws exactly the grid you need. For an 18×24 inch canvas with 2 inch squares you get 9×12 cells, and every cell on screen is one 2 inch square on the canvas.
If you would rather print the guide, the Blank grid PDF exports the empty grid at true size when it fits on the page, ready to trace onto watercolour paper with a light box or window. For murals and posters, Full-size tiled PDF splits the gridded reference across as many Letter or A4 pages as needed so you can tape them together at the real size.
Tips for a cleaner grid drawing
- Rule your paper grid with a 2H or harder pencil and press lightly. A kneaded eraser lifts it without smudging.
- On dark or busy photos pick white or yellow lines; on pale photos pick black or red. Lower the opacity if the grid hides detail.
- Work from the top left to the bottom right (right-handed) so your hand does not smear finished cells.
- Copy contours first, shadows second, detail last. Check proportions across several cells before shading.
- Turn the reference and your drawing upside down once in a while. Errors in shape jump out when the subject is unrecognisable.
- Erase the grid lines inside light areas before you shade. In dark areas they will disappear under the graphite.
Grid for artists, students and teachers
This site is built around one idea: a drawing grid is a learning tool, not a crutch. Students can use it to copy a master painting or a photo of a pet, illustrators can square up a sketch before inking, and painters can transfer a composition onto a large canvas without a projector. Art teachers can turn any picture into printable grid drawing worksheets at three difficulty levels, including mystery grid puzzles, with the grid drawing worksheet maker.
Frequently asked questions
What is a grid drawing tool?
How many squares should my drawing grid have?
How do I make the grid on my paper match the grid on the photo?
What is step-by-step drawing mode?
Is the grid drawing tool free? Do I need to sign up?
Are my photos uploaded to a server?
Does it work on an iPad or phone?
Is using a grid to draw cheating?
More free tools for artists
Add Grid to Photo
Overlay a square, rule-of-thirds or custom grid on any image and save it as PNG, JPG or PDF.
ClassroomGrid Drawing Worksheets
Turn one picture into printable grid drawing worksheets at three difficulty levels, plus mystery grid puzzles.
DownloadTransparent Grid PNG
Free transparent grid overlays in common sizes, or generate your own PNG and SVG grid.
PixelizeImage to Pixel Art
Convert a photo to pixel art with palettes and dithering, then export a bead or cross-stitch chart.
ScalePixel Art Upscaler
Enlarge sprites with crisp nearest-neighbour or Scale2x edges, without blur.